Are you ready to upgrade your Windows 10 PC to Windows 11? This guide will help you through the process. You’ll learn about system requirements, backing up data, and solving common issues. Get ready for Windows 11’s new features and better performance.
Key Takeaways
- Learn the minimum hardware requirements for upgrading to Windows 11
- Discover how to check your PC’s compatibility with the new OS
- Explore multiple methods to install Windows 11 on your Windows 10 device
- Prepare your PC for a seamless Windows 11 installation
- Troubleshoot common installation issues and find solutions
- Optimize your system after the Windows 11 upgrade
- Ensure a smooth transition from Windows 10 to Windows 11
System Requirements for Windows 11 Upgrade
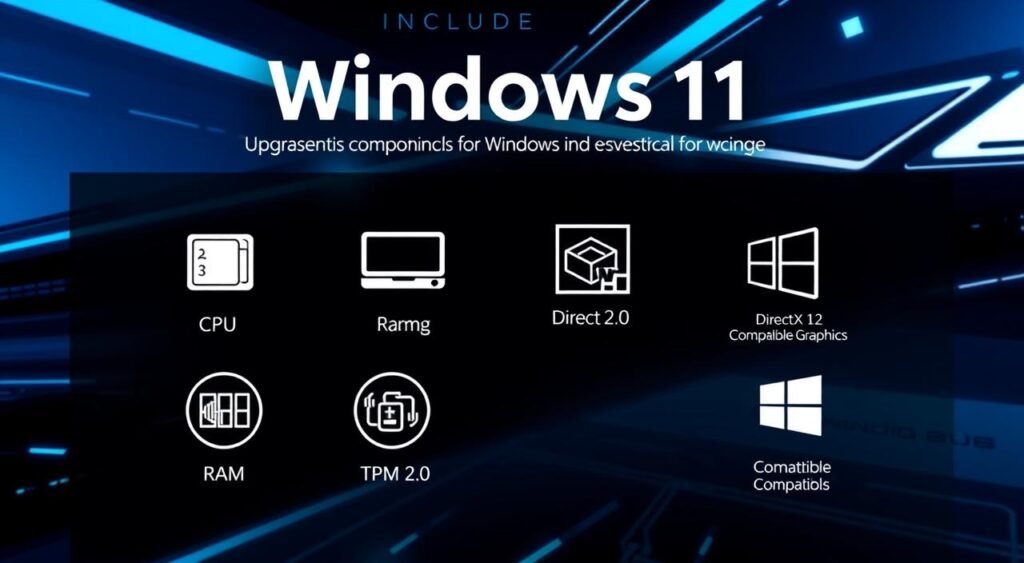
Before upgrading your Windows 10 PC to Windows 11, check if it meets the minimum hardware needs. This guide will cover the processor, memory, and storage specs. It also talks about TPM 2.0 and Secure Boot.
Minimum Hardware Requirements
Your PC needs an 8th-generation Intel Core processor or AMD Ryzen 3000 series CPU for Windows 11. It should have at least 4GB of RAM and 64GB of storage. Microsoft suggests 8GB of RAM and 128GB of storage for a better experience.
TPM and Secure Boot Requirements
Windows 11 requires a Trusted Platform Module (TPM) 2.0 chip for security. Your PC must also have Secure Boot enabled. This ensures a secure boot process and prevents unauthorized code.
Checking Your PC Compatibility
To see if your Windows 10 PC can run Windows 11, use the PC Health Check app. This tool checks your system and tells you if it’s ready for the upgrade. If not, it will say what parts need to be updated.
| System Requirement | Minimum Specification | Recommended Specification |
|---|---|---|
| Processor | 8th-generation Intel Core or AMD Ryzen 3000 series | 11th-generation Intel Core or AMD Ryzen 5000 series |
| RAM | 4GB | 8GB |
| Storage | 64GB | 128GB |
| TPM | TPM 2.0 | TPM 2.0 |
| Secure Boot | Enabled | Enabled |
By checking these system requirements, you can smoothly upgrade to Windows 11.

Backing Up Your Windows 10 Data Before Installation
Before you start upgrading to Windows 11, protecting your data is key. You need to keep your files, settings, and apps safe for a smooth transition. We’ll look at ways to back up your Windows 10 data, from system images to cloud storage.
Creating a System Image
Creating a system image is a detailed backup option. It captures your Windows 10 system, including programs, settings, and files. If problems arise during the upgrade, you can restore your system easily.
Utilizing File History
File History is a built-in Windows 10 backup tool. It saves your personal files like documents and photos to an external drive or network. This way, you can easily get back your files if something goes wrong.
Leveraging Cloud Storage Solutions
Cloud storage services like OneDrive and Google Drive offer extra protection. They keep your important files safe in the cloud. This means you can access and restore them from any device, keeping your data safe.
Preparing well for a Windows 11 upgrade is crucial. Backing up your Windows 10 data ensures your personal info and apps are safe. This lets you confidently start using the new operating system.

| Backup Method | Description | Advantages |
|---|---|---|
| System Image | A complete snapshot of your Windows 10 operating system, including all installed programs, settings, and personal files. | Allows for a full system restore if needed. |
| File History | A Windows 10 feature that regularly backs up your personal files to an external storage device or network location. | Convenient way to restore individual files or folders. |
| Cloud Storage | Synchronizing your important files to a cloud-based service like OneDrive, Dropbox, or Google Drive. | Accessibility and protection from any device, with the added benefit of off-site data storage. |
How to Install Windows 11 on Windows 10
Upgrading to Windows 11 from Windows 10 is easy if you know the steps. We’ll look at three main ways to do this: using Windows Update, the Installation Assistant, or a bootable media with the ISO file.
Using Windows Update Method
The simplest way to get Windows 11 is through Windows Update. If your PC can run Windows 11, you’ll see an upgrade option. Just click “Check for updates” and start the installation if it’s available.
Using Installation Assistant
Microsoft’s Windows 11 Installation Assistant is another option. You can download it from the Microsoft website. Run the tool and follow the prompts to upgrade your PC.
Using Windows 11 ISO File
For more control, use the Windows 11 ISO file to create a bootable media. This method lets you do a clean install, giving you a fresh start. Download the ISO, make a bootable USB or DVD, and start the installation.
Before you start, make sure to back up your important files. This step prevents data loss and makes the upgrade smoother.
Preparing Your PC for Windows 11 Installation
Before starting the Windows 11 upgrade, make sure your PC is ready. A few easy steps can prepare your system for a smooth installation. This way, you’ll enjoy a hassle-free experience with Windows 11.
Freeing Up Disk Space
Windows 11 needs a lot of free space on your disk. Start by deleting files you don’t need, removing unused apps, and getting rid of big media files. This will make room for the new OS without problems.
Updating Drivers
Make sure all your drivers are current. Old drivers can cause issues and stop the installation. Check the manufacturer’s sites or use a driver update tool to keep your drivers up-to-date.
Disabling Startup Programs
Look at the programs that start when your computer boots. Turn off any you don’t need. This will improve your system’s performance and prevent problems during the Windows 11 install.
Temporarily Disabling Antivirus Software
Antivirus programs might get in the way of the Windows 11 install. To avoid problems, turn off your antivirus during the install. Remember to turn it back on after you’re done to keep your system safe.
By following these steps, you can get your PC ready for a smooth Windows 11 upgrade. Take the time to optimize your system. Then, you’ll be ready to enjoy all the new features and improvements that Windows 11 offers.
Troubleshooting Common Installation Issues
Upgrading to Windows 11 is exciting, but it comes with challenges. Many users face installation errors, compatibility problems, or complete failures. Don’t worry, we’ve got a detailed guide to help you.
Error Messages and Solutions
Error messages are common during Windows 11 installation. They can warn about hardware incompatibility or disk space issues. It’s important to read the error message carefully and follow the suggested steps. Sometimes, updating your BIOS or adjusting settings can solve the problem.
Compatibility Problems
It’s crucial to ensure your hardware and software are compatible with Windows 11. If you face compatibility issues, check the official system requirements. You might need to upgrade your hardware or find compatible software.
Installation Failures
Windows 11 installation might fail due to various reasons like power outages or corrupted files. If it fails, try rebooting and running the installation again. If it still doesn’t work, look for help on Microsoft’s support page or contact their customer service.
By tackling these common issues, you can successfully upgrade to Windows 11. You’ll then enjoy its new features and improvements.
| Common Installation Issue | Possible Solutions |
|---|---|
| Error Messages | Check system requirements and make necessary hardware/software updates Update BIOS or adjust system settings Refer to Microsoft’s support documentation for specific error message solutions |
| Compatibility Problems | Verify your PC meets the official Windows 11 system requirements Upgrade or replace incompatible hardware Find alternative software that is compatible with Windows 11 |
| Installation Failures | Reboot your system and try the installation process again Check for corrupted installation files and download a fresh copy Consult Microsoft’s support resources or contact their customer service team |
Post-Installation Setup and Optimization
Congratulations on installing Windows 11! Now, let’s make your system run smoothly. We’ll cover the key steps to get the most out of your new operating system.
First, check for driver updates. Windows 11 needs new hardware and security standards. Keeping your drivers up-to-date is key for performance and stability.
Then, set up your privacy settings. Windows 11 has better privacy controls. You can manage data collection and location services. Take a few minutes to protect your personal info.
Get to know the new Start menu and taskbar. Customize them to fit your style. Try Snap Layouts and Virtual Desktops for better productivity and workflow.


